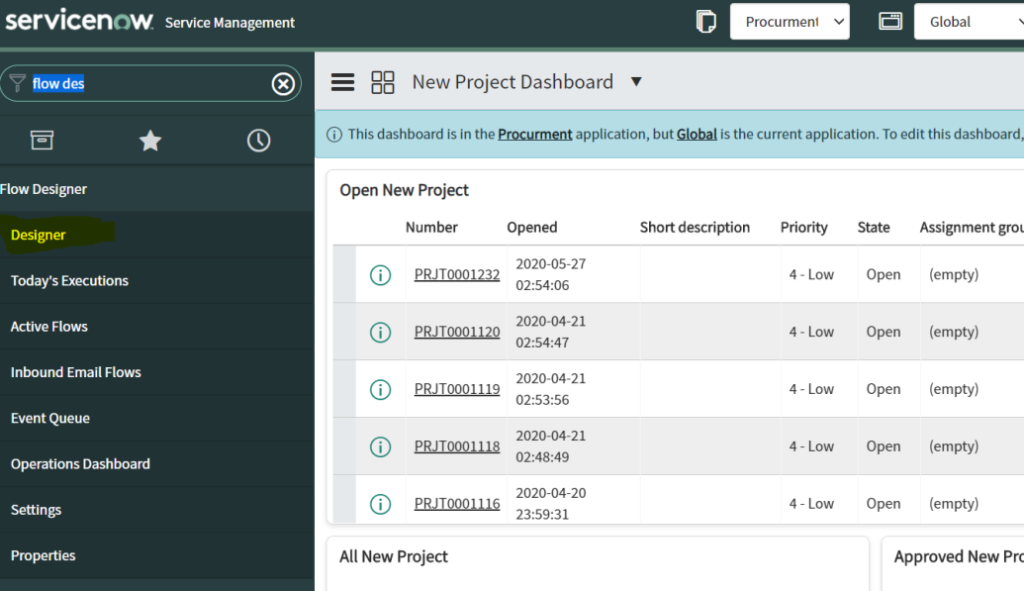
Navigate to Flow Designer -> Designer in application navigator
Open any flow designer and Click on “Select to add an Action, Flow Logic, or Subflow”
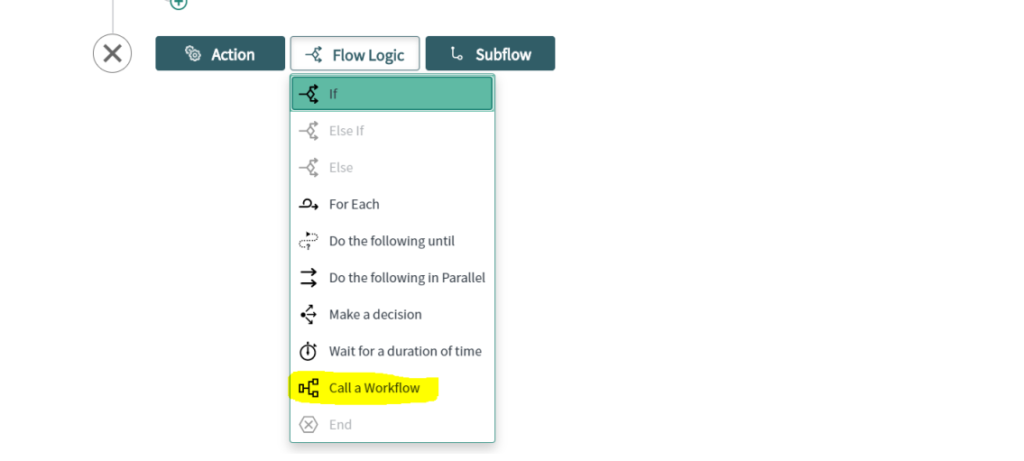
Click on Flow logic and you can find the “Call a Workflow” and select this activity.
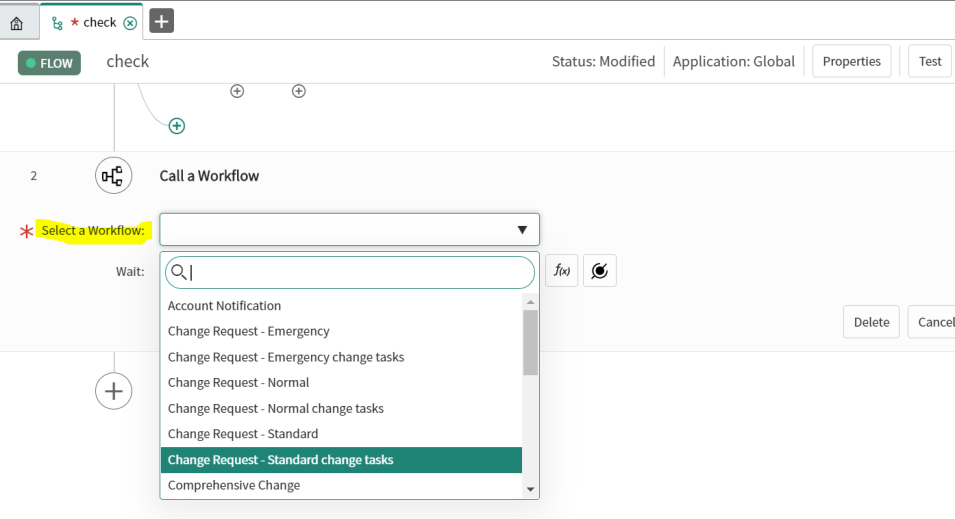
Finally, you can select any workflow through flow designer. And flow designer will execute the workflow first and and the next activities which lined up in the flow diagram.
Exporting data with Sys ID/GUID (Globally Unique ID)
In some scenarios, we need to know Sys ID of multiple records. But Sys ID field is not easily available for users to display on forms and lists and reports. This is because this field contains the unique numerical identifier for each record. If the Sys ID is modified or deleted, this would lead to bad data and/or data loss. The below method can help you retrieving the Sys ID or displaying the Sys ID field on the forms, lists and reports.
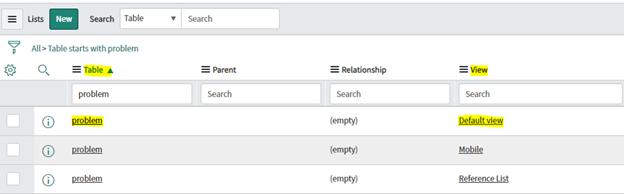
Scenario 1 : If your business requirement is to make the sys_id field visible on the list.
1. Navigate to System UI -> Lists 2. Search the Table on which you want to add the sys_id field and Open it. (Check the view on which you want to make the changes)
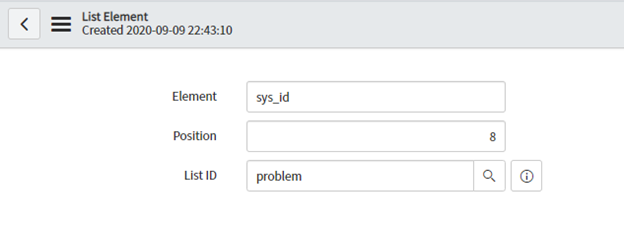
3. In the List Elements related list, click the New button. Populate Element = sys_id and Position with a number for the place in the list.
4. Navigate to Application Navigator and execute cache.do 5. Once you navigate back to your list, the Sys ID field will be visible.
Scenario 2: If your business requirement is to make the Sys ID field visible on the form.
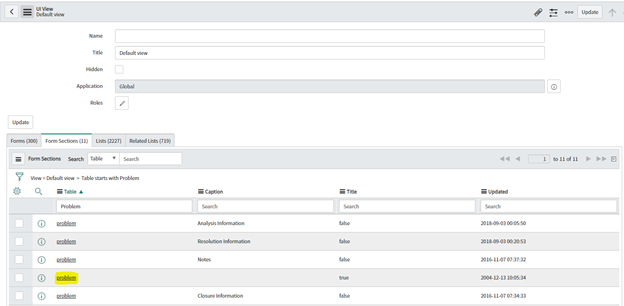
1. Navigate to System UI -> View 2. Search and Open the View you would like to modify. 3. In the Form Sections tab, filter by your table name and then open the record for the form section you would like the Sys ID field to be visible in. The top form section for every table will not have a Caption and will appear blank. This is expected behavior.
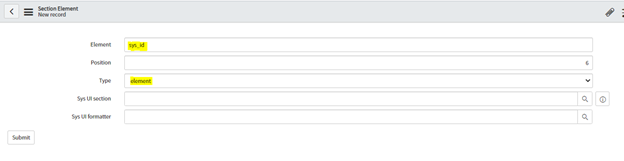
4. In the Form Section record, click the New button on the Section Elements list. Populate Element = sys_id, Type = element, and Position with a number for the location on the list.
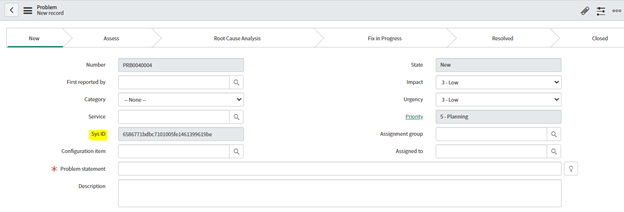
5. Navigate to Application Navigator and execute cache.do 6. Once you navigate back to your Form, the Sys ID field will be visible.
Note: This field should ALWAYS be read only. There is an OOB ACL (*.sys_id/write) which prevents write access for all users, even admins. Please DO NOT make this field editable for any user, as this could lead to considerable data loss issues. Adding the Sys ID to a form or list view or a report as explained above will still prevent users to export the Sys ID values to a file. We can export the sys_id by constructing a URL
Constructing a URL
By the help of “sysparm_default_export_fields=all” parameter , Sys ID can be exported. This parameter tells the web service to export all fields from the table including the Sys ID. Beware that this also brings every other field along with it.
Steps:
1. Navigate to the list of records. https://<instance>.service-now.com/problem_list.do?
2. Build your filter (If required as per business need) https://<instance>.service-now.com/incident_list.do?sysparm_query=active (I have applied filter as Active is TRUE)
3. Copy URL and place into new browser window and Add &CSV&sysparm_default_export_fields=all to the end of the URL https://<instance>.service-now.com/incident_list.do?sysparm_query=active&CSV&sysparm_default_export_fields=all
4. Press Enter 5. A CSV file with all fields including sys_id will get exported.
Scenario 3: If your business requirement is to see the Sys ID field on a report.
1. Navigate to System Definition > Database View 2. Create a new View and add the table you want to report on. Add a Where clause if needed. 3. Select the Fields to add to the View. Make sure to select the sys_id field too (As you have already added the Field) 4. When done save your View. 5. When done save your View.
There are 10 support centers and 11 data center pairs for a total of 21 data centers. ServiceNow’s data centers are arranged in pairs. Their data center pairs span five continents:
Asia Australia Europe North America South America
All customer production data is stored in both data centers and kept in sync using real-time database replication. Both data centers are active at all times, each with the ability to support the combined production load of the pair. A production instance for one customer may be primary out of one data center in the pair while a production instance for another customer may be primary from the other.
ServiceNow maintains continuous, asynchronous replication from the database in the current primary data center (read-write) to the secondary data center (read-only). To transfer a customer instance from a primary to a secondary data center, ServiceNow designates the secondary to be the primary and the primary to be the secondary.
Before we go with the subscription packages of IntegrationHub, lets first understand why basically we need it. As we know, Spokes within IntegrationHub provides the ability to contact external systems’ integration APIs and activate protocol steps. Each subscription level includes additional spokes and capabilities. One Subscription package will not fit all customers. Hence ServiceNow has provided different levels of subscription, customers can avail according to their need. Each IntegrationHub subscription package also includes a number of Protocols, Entitlements, and Features.
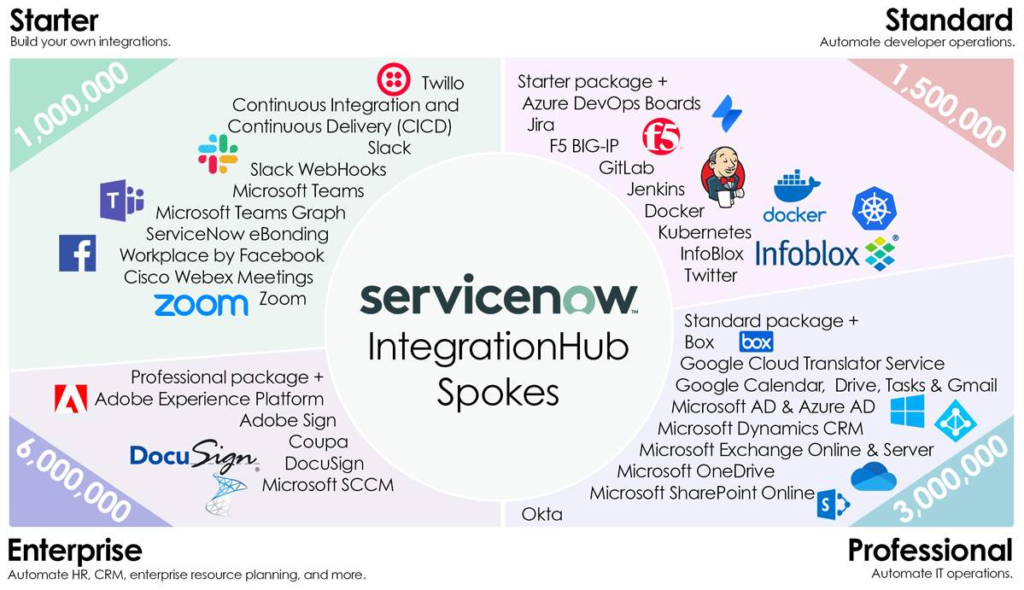
Let’s see the different subscription packages available in ServiceNow:
Starter Pack: Build your own integrations. Standard Pack: Automate developer operations. Professional Pack: Automate IT operations. Enterprise Pack: Automate human resources, customer relationship management, enterprise resource planning, and more.
Starter
Standard
Professional
Enterprise
Purpose
Build your own integrations.
Automate developer operations.
Automate IT operations.
Automate human resources, customer relationship management, enterprise resource planning, and more.
Maximum transactions per year
1,000,000
1,500,000
3,000,000
6,000,000
Spokes included
Cisco Webex Meetings, Continuous Integration and Continuous Delivery (CICD), Slack, Slack Webhooks, Twilio, Microsoft Teams, Microsoft Teams Graph, Workplace by Facebook, HipChat, Zoom
Standard package+ Box, Google Cloud Translator Service, Google Calendar, Google Drive, Google Tasks, Gmail, Microsoft Active Directory, Microsoft Azure Active Directory, Microsoft Dynamics CRM, Microsoft Exchange Online, Microsoft Exchange Server, Microsoft OneDrive, Microsoft SharePoint Online, Okta
Professional package+ Adobe Experience Platform, Adobe Sign, Coupa, DocuSign, Microsoft SCCM,
Protocols included
SOAP step, REST step, Open API support
Starter package+ JDBC step
Standard package+ PowerShell step, SFTP step, SSH step
Professional package
Entitlements included
None
None
Orchestration Activity Designer, Activity Packs, and all templates
All Orchestration features, Client Software Distribution, Password Reset
Professional package+ Data Stream actions and introspection (dynamic inputs and dynamic outputs)
Benefits of IntegrationHub
Single Solution
IntegrationHub consolidates multiple Now Platform automation capabilities into a single environment so process owners and developers can build and visualize business processes and integrations from a single interface.
Extensibility
IntegrationHub adds integration capabilities to Flow Designer. It provides spokes for integrations with common IT collaboration tools and other ServiceNow instances. Synchronizing data across multiple production instances using the eBonding spoke is a good example of this.
No/Low Code Environment
IntegrationHub extends Flow Designer to provide low-code to no-code integration capabilities for non-technical users. They can use base instance integrations for external services like Azure Active Directory, Active Directory, Slack, Microsoft Teams, and HipChat. It also allows developers to encapsulate integration actions into reusable integration components (spokes) using REST, SOAP, Payload Builder, PowerShell, and script. Anyone can use these spokes to build their flows without a line of code.
3rd Party Resources
Like any other application on the Now Platform, IntegrationHub spokes can be created and published to an application repository, the ServiceNow Store, or to ServiceNow Share to be shared with the ServiceNow community. Several of these spokes are available for free or for an additional fee.